


Latest Resources
How Retail Businesses Use Google Workspace for Data Privacy Compliance
Insights
How Retail Businesses Use Google Workspace for Data Privacy Compliance
By Lana Ginns
May 20, 2026
Find out more
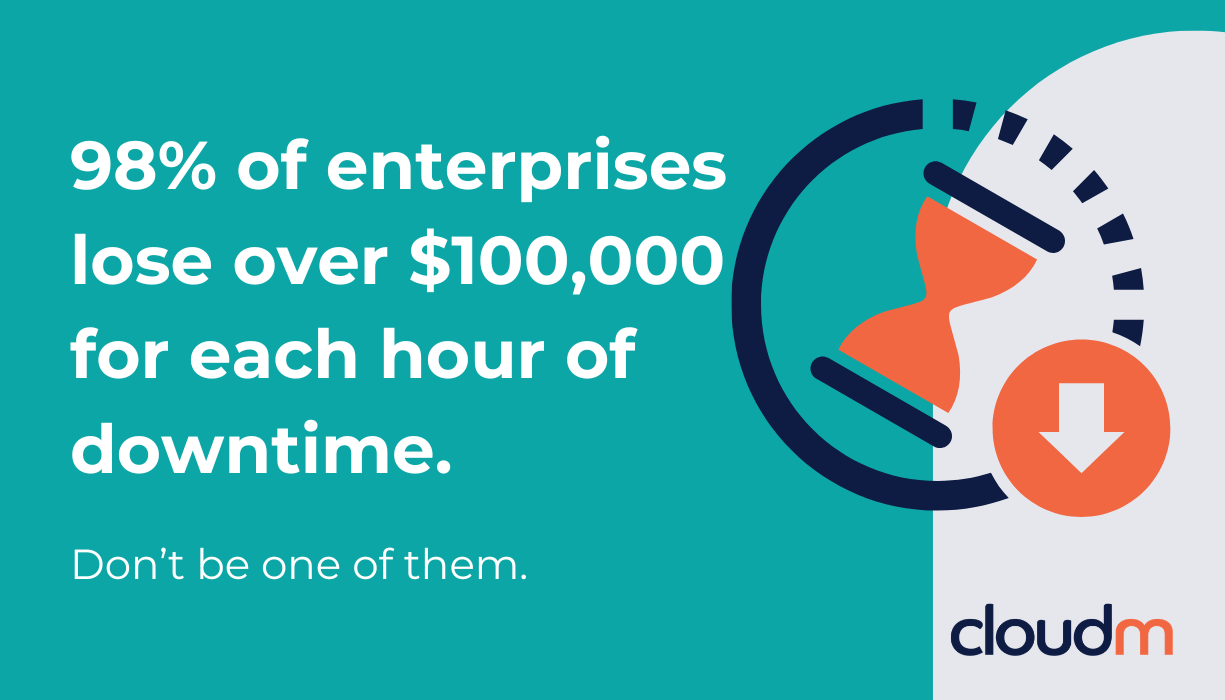
5 reasons your M365 customers need a hot standby on Google Workspace
Product updates
5 reasons your M365 customers need a hot standby on Google Workspace
By Eoghan McCarthy
May 7, 2026
Find out more
A Guide to Large-Scale Data Migration for Google Workspace

Insights
A Guide to Large-Scale Data Migration for Google Workspace
By Lana Ginns
April 30, 2026
Find out more
IT Security Automation: Benefits and Best Practices
Insights
IT Security Automation: Benefits and Best Practices
By Lana Ginns
April 30, 2026
Find out more
Google Workspace Domain Switch: How to Migrate GWS Tenants When Your Domain Name Is Moving Too
Insights
Google Workspace Domain Switch: How to Migrate GWS Tenants When Your Domain Name Is Moving Too
By Lana Ginns
April 21, 2026
Find out more
Business continuity: When Microsoft 365 goes dark, your business doesn’t have to
Product updates
Business continuity: When Microsoft 365 goes dark, your business doesn’t have to
By Lana Ginns
April 13, 2026
Find out more
How to Migrate Google to Google: A Complete Guide
Insights
How to Migrate Google to Google: A Complete Guide
By Eoghan McCarthy
April 2, 2026
Find out more
How to improve email signature marketing campaign management
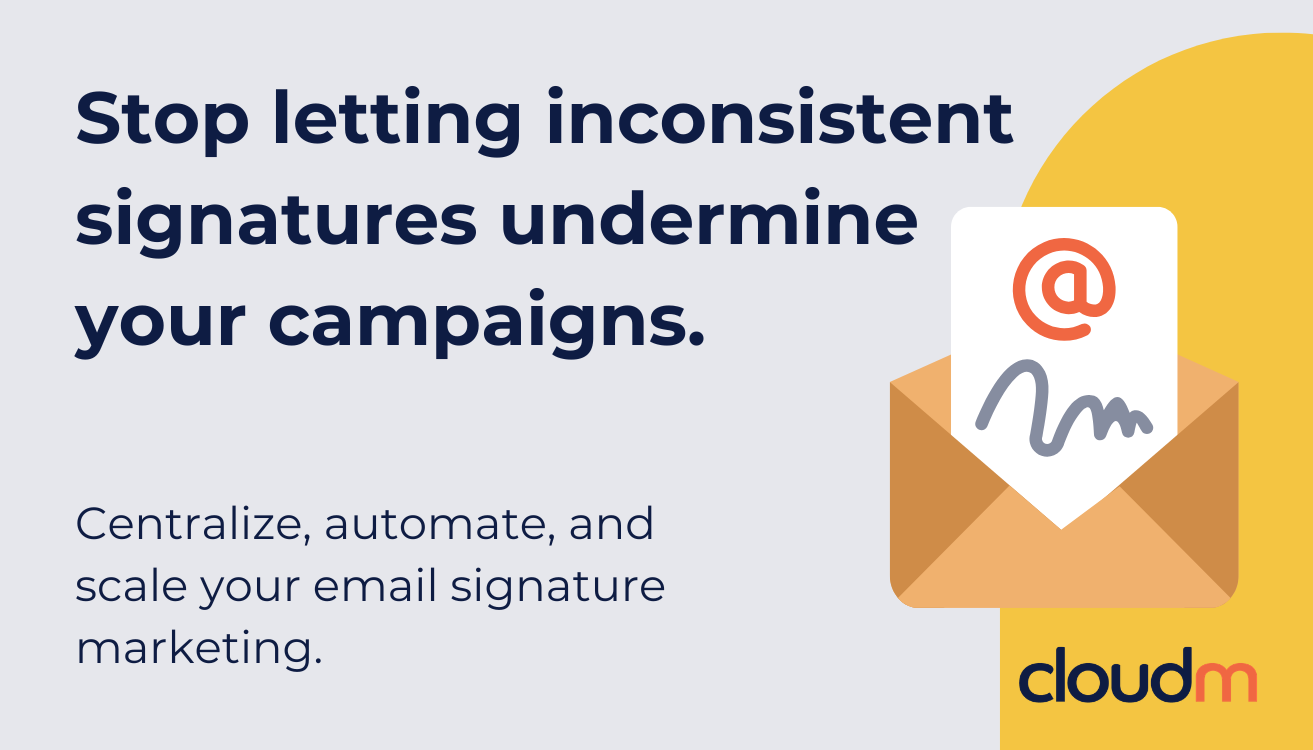
Insights
How to improve email signature marketing campaign management
By Lana Ginns
March 24, 2026
Find out more